Homemade Pappardelle
Simple, homemade pappardelle pasta is a deliciously versatile shape to make! Pictured below topped with crispy mushrooms, clouds of Parmesan cheese, and lemon.
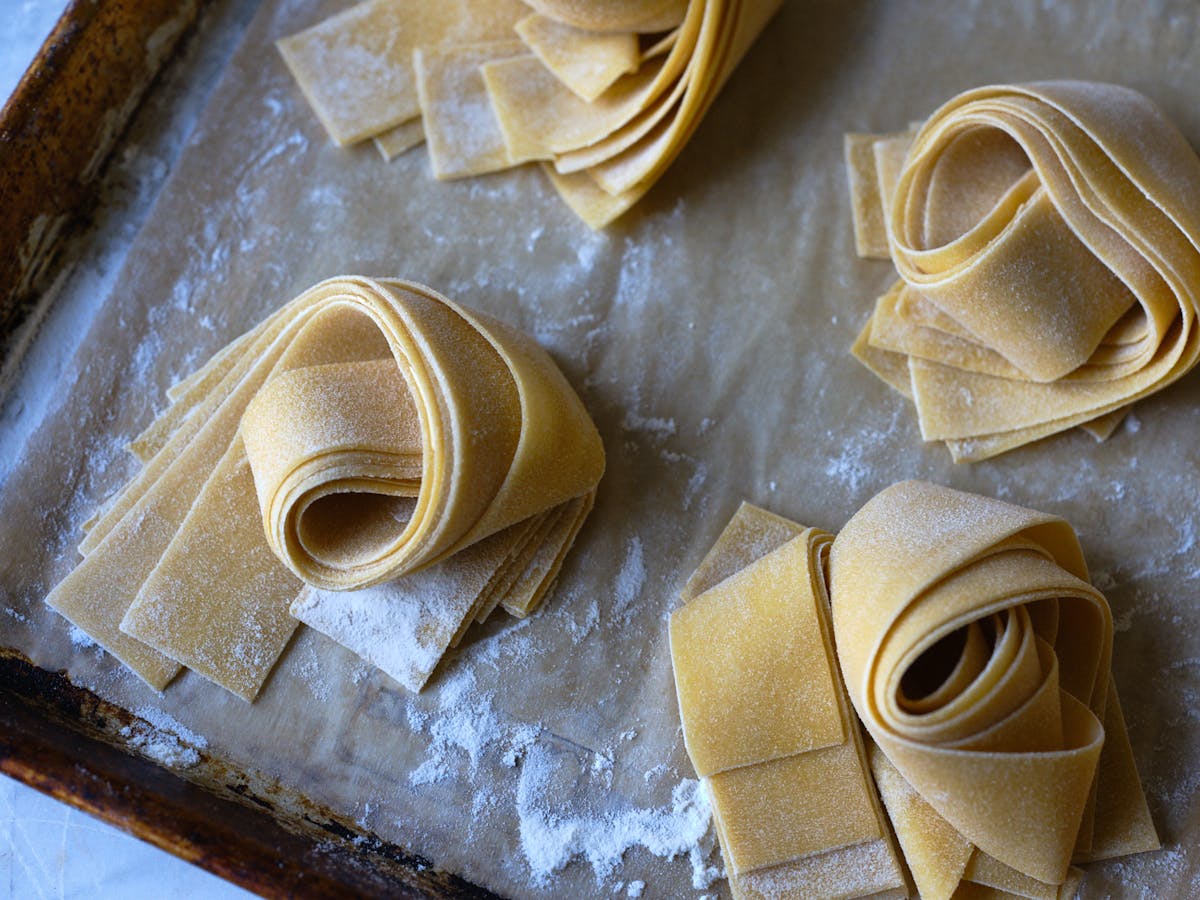
It's time for another pasta session! Pappardelle is one of the pasta shapes I prepare most often. The easy-to-make wide ribbons sweep up sauces beautifully. Flecks of flavor, like zests and grated cheese, love to cling to the expansive surface area. A bowl of homemade pappardelle is a real treat. Let's talk though the process of making the pasta, and then I'll share a simple pairing with oven-crisped mushroom, Parmesan and a lemon accent that I like a lot. 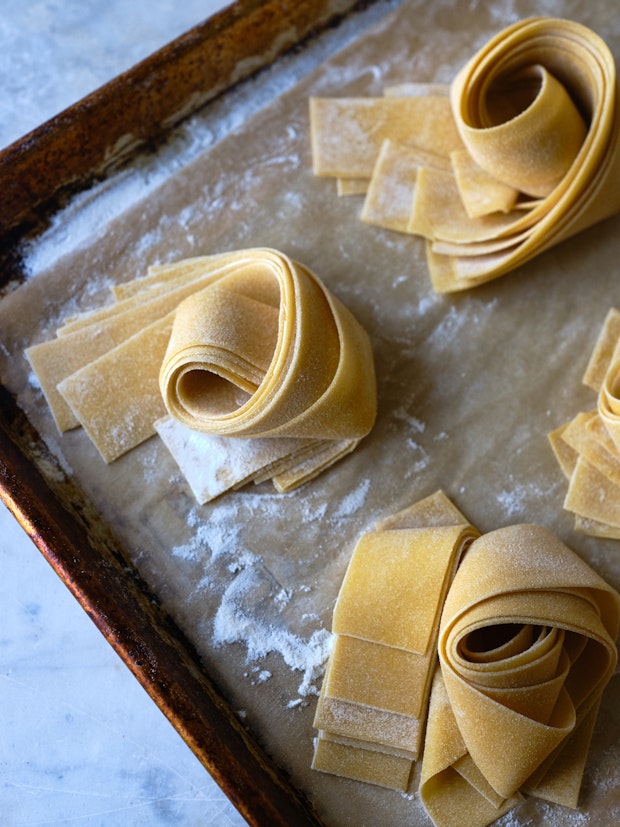
About this Pappardelle Recipe
When you enjoy pappardelle in a restaurant the ratio of eggs to flour is often much, much higher than what I make at home. With the former, the weight of egg yolks can equal the weight of the flour. That means, you might need nearly two dozen yolks for the amount of flour we're going to use today. This version is going to use some eggs, but nothing extreme.
For home-style pappardelle, I like to use 4 eggs for 400g of flour. It ends up being more egg-y than this basic homemade pasta recipe, but it works great, I always have the ingredients on hand, and it's perfect for everyday cooking and eating. And there are eggs leftover for the rest of the week.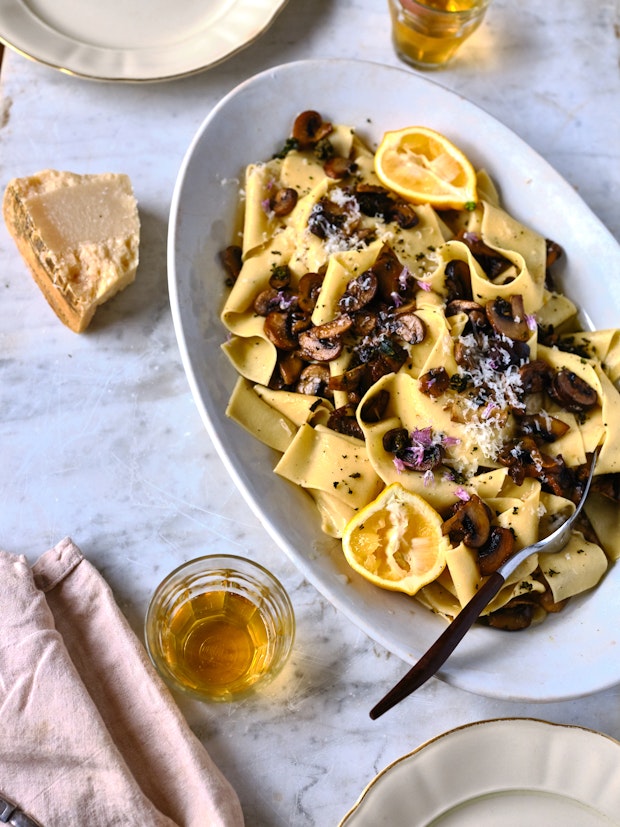
Which Flour Should I Use?
The pappardelle you see pictured here was made with “00” flour. “00” is powder-fine and made with low gluten, soft wheat flour. If you don’t have “00” you can certainly use all-purpose flour. Or use equal parts “00” and unbleached all-purpose flour. Once you're comfortable with this, you can even swap in a bit of whole-grain flour if you like - until you have a blend you love. A bit of rye flour is nice for winter pappardelle, or you could play around with chickpea flour, or even oat flour. I have it on my list to try a bit of mesquite flour at some point.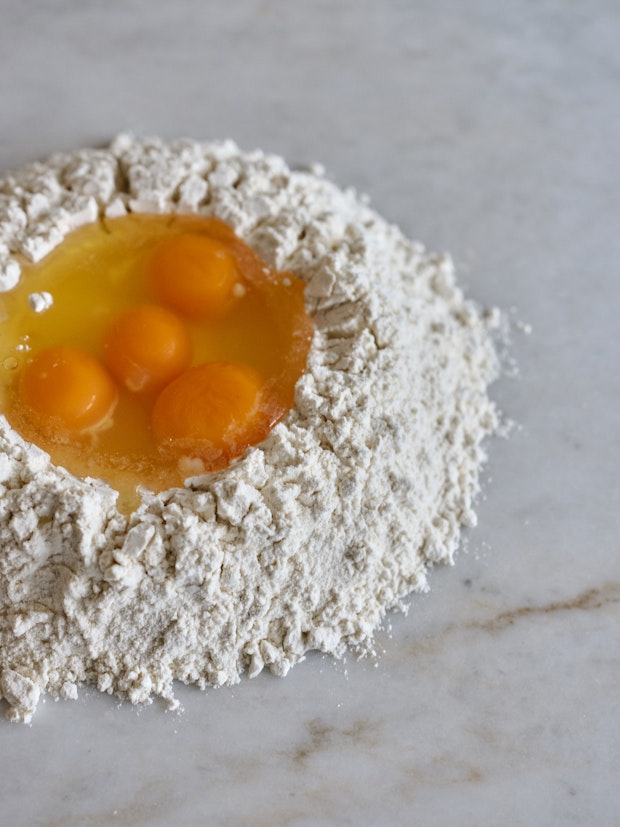
How To Make Pappardelle Dough By Hand
This is covered in the recipe below, but I wanted to include some step-by-step information in case you find yourself in the weeds.
Start by making a mound of the flour directly on the countertop. Make a deep crater in the top and add the eggs, olive oil, and salt.
Use a fork to break up the eggs without breaking through the walls of your flour mound. You want to try to keep the eggs contained, but don’t worry if they break through - use a spatula or bench scraper to scoop them back in. Work more and more flour into the eggs a bit at a time. Drizzle 2 tablespoons of cold water across the mixture and keep mixing until you’ve got a dough coming together.
If you’re exclusively using all-purpose flour, you might not need more water. Some of the other flours are a bit thirstier, you can drizzle a bit more at time as you go if you feel like your dough is too dry. It should look like the pictures, you want to avoid having a wet dough. With some of the other flours I typically end up using 4-5 tablespoons of water total.
I’ve found that a spray bottle is my favorite way to add water to pasta dough without adding too much, but drizzling works too. Use your hands to bring the dough together into a bag and knead for 7-10 minutes, until the dough is silky smooth and elastic.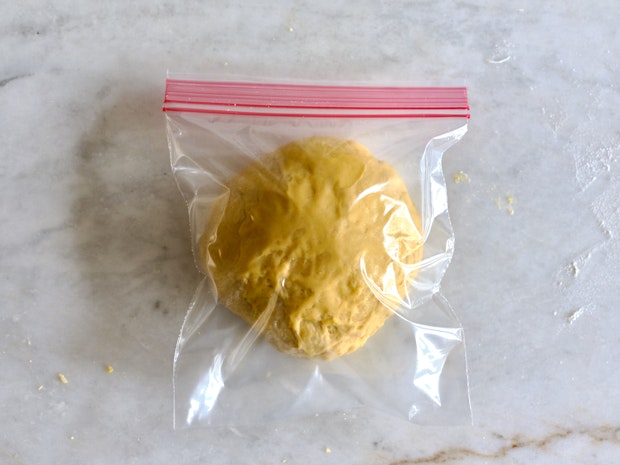
How to Roll and Cut Fresh Pappardelle By Hand
To roll out pappardelle dough by hand, make sure your dough is at room temperature. Cut the dough into four equal pieces. Choose one piece to work with, and immediately wrap the rest so they don’t dry out. You'll need a floured surface, and you'll want to keep the pasta floured a bit as well, so it doesn't stick to itself. If the dough is sticking rub with a bit more flour. Use a rolling pin to roll the dough out to your desired thickness. I tend to go thinner than I think I’ll want because the pasta swells a bit as it cooks. Once you’ve rolled the dough out flat, cut the dough into strips 1-inch wide and 12 inches long. Transfer the cut pasta to a floured baking sheet, rub with a bit of flour, and swirl into little nests with about 6 pieces of pasta in each nest. Repeat with the remaining dough. At this point you can cook the pasta immediately, dry it, refrigerate it, or freeze it.
How to Roll and Cut Fresh Pappardelle by Machine
If your dough was refrigerated, bring it to room temperature before rolling out. Sprinkle a baking sheet generously with flour and aside. When you’re ready to roll out the pasta, make sure your dough is at room temperature. Cut it into six equal wedges, and squish one of them flat-ish with your fingers. Re-wrap the remaining dough immediately so it doesn’t dry out. Feed your flattened wedge though the pasta machine on its widest setting. Run it though 2 or 3 times. You want to get it into a rectangular shape if possible. Fold the dough in thirds so you have a rectangle. Feed it though the pasta maker 2-3 more times on the widest setting. Continue to feed the pasta dough through the pasta maker, decreasing the width as you go. I run the pasta through a 2-3 times on each width, and dust with a bit of flour on both sides if I’m getting any stickiness. I typically roll pappardelle out to the 5 or 6 setting on my Atlas 150. 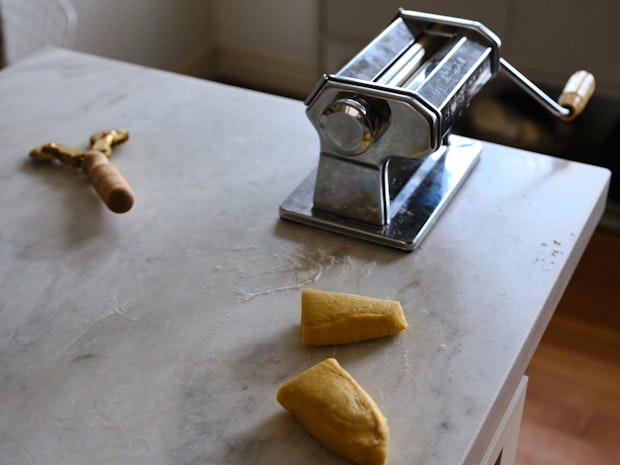
I love my Altas hand-cranked pasta machine, and I've used it forever. They're relatively inexpensive, and a great investment if you think you might want to make homemade pasta more often. I've also had great success using the pasta attachment to the Kitchen-Aid. So, if you already have one of those, consider the attachment. 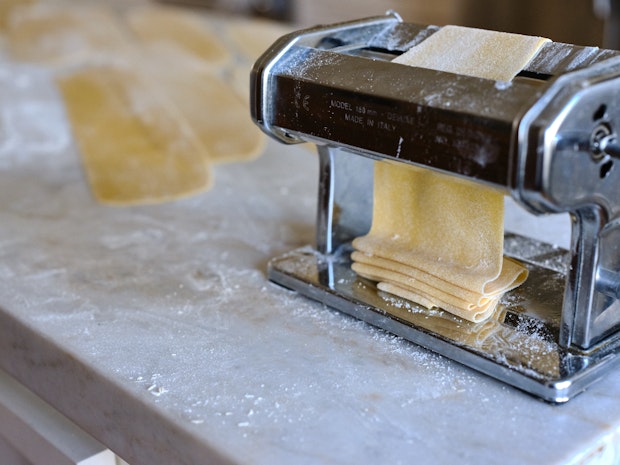
Cut the sheets into strips roughly 12-inches long by 1-inch thick. You can get super precise, like the photo below, or just eyeball it, and take a more casual approach. Transfer the cut pasta to a floured baking sheet, dust/rub the pasta with a bit of flour, and swirl into little nests. I usually do 6 pappardelle per nest. At this point you can cook the pasta immediately, dry it, refrigerate it, or freeze it.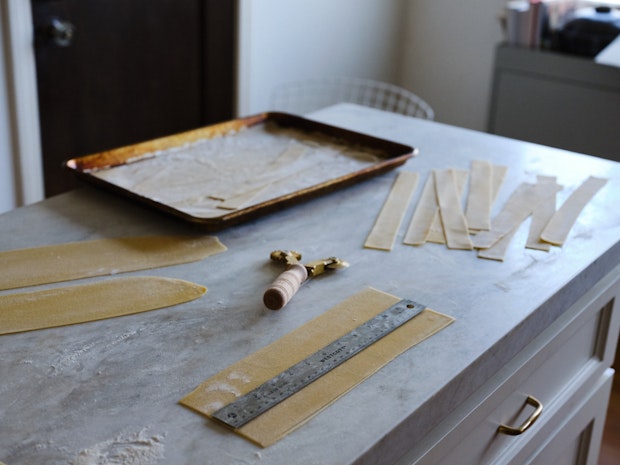
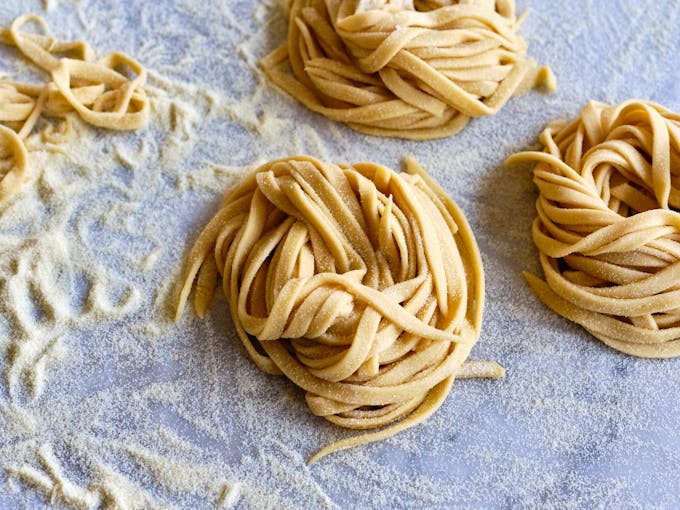
The pappardelle are lightly dusted (photo below) and then shaped into nests that you can use immediately, or freeze to use at a later time. 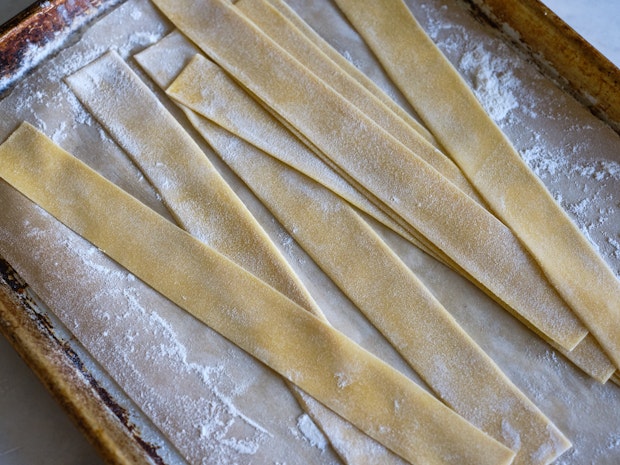
How To Freeze Pappardelle
Freezing is my preferred method of storing any pappardelle I’m not cooking immediately. Arrange freshly made, uncooked nests of pappardelle across a floured baking sheet. Freeze for a couple of hours, and then transfer to double layer plastic bags. You can freeze for up to a couple of months. And you can cook straight from the freezer. No need to thaw, just dump the pappardelle into boiling salted water, and increase the cooking time a bit.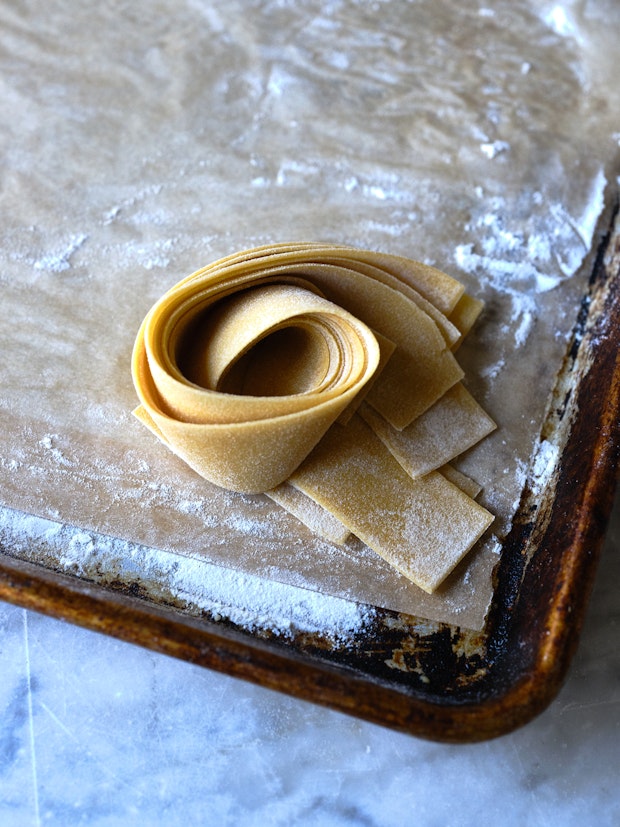
Variations
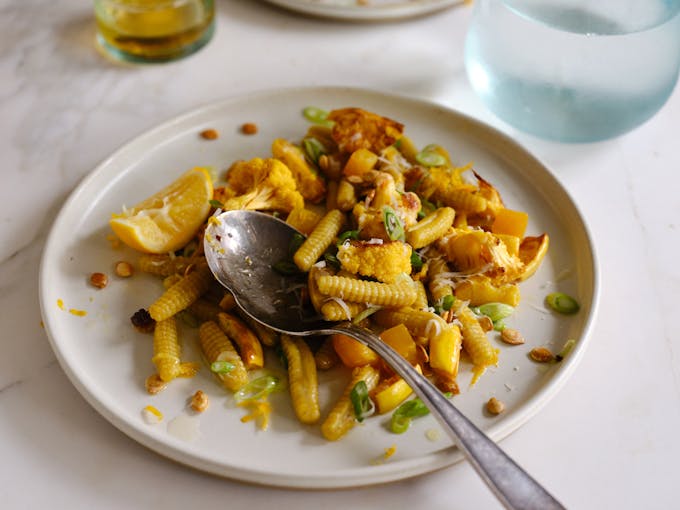
You can see in some of my other pasta recipes how to tweak basic pappardelle pasta dough by adding different seasonings and spices. For example, I added black pepper and turmeric to this sunny-looking cavatelli. And beet juice to electrify this fettuccini. You can also play around with the water component. In place of water you can use vegetable juices, purees, stocks or broths, anything of that sort is fair game.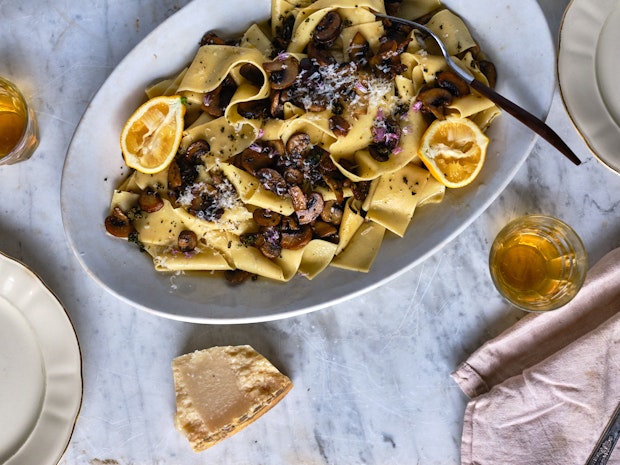
More Ideas!
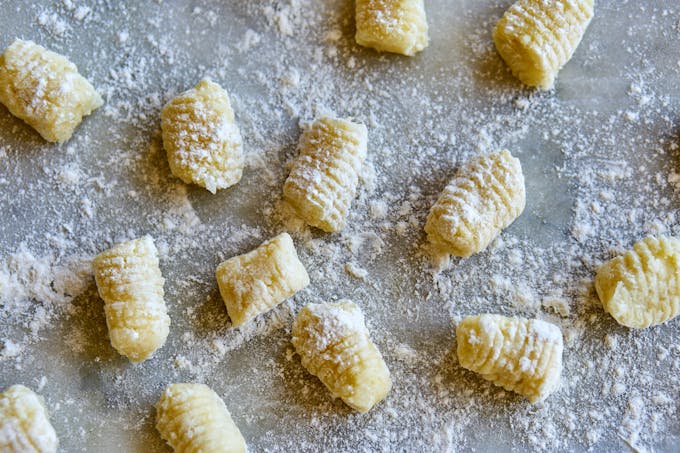
Making fresh pasta is one of my favorite things to do. It's even better when you have others around to help, taking turns in shifts. I did a basic primer on making homemade pasta a while ago, if you love fettuccine noodles or anything along those lines, start there. You can also try making gnocchi (it's perfect with this pesto), or a favorite simple tomato sauce. And all my pasta recipes live here. Have a blast and enjoy!
More Pasta Recipes
- Mushroom Lasagna
- Cavatelli
- Pici
- Beet Fettuccine
- Pasta with Crushed Creamy Walnut Sauce
- Stuffed Shells
- Last Minute Red Lasagna
- more pasta recipes
Favorite Pasta Sauces
Other Favorite Italian Recipes
Homemade Pappardelle
I've included even more detail about making this pasta shape in the main write-up. So if at any point you get stumped, have a look up there. Have fun!
- 3 1/4 cups / 400 g "00" flour or unbleached all-purpose flour
- 4 eggs / 200g eggs
- 1/4 teaspoon fine grain sea salt
- 1 tablespoon extra-virgin olive oil
- water (as needed)
- 2 pounds / 32 ounces mixed mushrooms, thinly sliced
- 3 tablespoons extra-virgin olive oil
- Fine grain sea salt
- 1 + cup freshly grated Parmesan cheese, plus more for serving
- freshly ground black pepper
- 1 lemon (Meyer or standard)
-
Start by making a mound of the flour directly on the countertop. Make a deep crater in the top and add the eggs, salt, and olive oil. Use a fork to break up the eggs without breaking through the walls of the mound. You want to try to keep the eggs contained, but don’t worry if they break through - use a spatula or bench scraper to scoop them back in.
-
Work more and more flour into the eggs a bit at a time. Drizzle 2 tablespoons of cold water across the mixture and keep mixing until you’ve got a dough coming together. You can drizzle a bit more, a little at a time, as you go if you feel like your dough is too dry. It should look like the pictures up above, you want to avoid having a wet dough. I’ve found that a spray bottle is my favorite way to add water to pasta dough without adding too much. Use your hands to bring the dough together into a ball and knead for 7-10 minutes, until the dough is silky smooth and elastic.
-
Form the dough into a ball and place in a plastic bag, alternately, wrap in plastic wrap. Allow to rest for 30 minutes at room temperature. Use Immediately, or refrigerate for up to a day. You might be able to get away with two days, but the dough will start to discolor.
-
At this point either roll the pasta out thinly with a rolling pin or use a pasta machine (pictured above). There are more detailed instructions on how to do this on the homemade pasta page, if this is your first time making fresh pasta, a glance at that page will be helpful. I also talk through the details up above. I typically roll pappardelle out to the 5 or 6 setting on my Atlas 150. If your dough was refrigerated, bring it to room temperature before rolling out.
-
For pappardelle I like to roll out all my sheets of pasta first, then cut them into strips about 12-inches long by 1-inch thick. You can be as precise or care-free as you like. really. Transfer the cut pasta to a floured baking sheet, dust/rub the pasta with a bit of flour, and swirl into little nests. I usually do 6 pappardelle per nest.
-
At this point you can cook the pasta immediately, dry it, refrigerate it, or freeze it.
-
Heat the oven to 375F. Place the mushrooms on a large sheet pan, drizzle with the olive oil, and sprinkle with salt. Toss well and arrange the mushrooms in a single layer, or as close to it as you can get. Bake until the mushrooms touching the pan star to brown, and give it all a toss. Keep baking, tossing occasionally, until the mushrooms release any liquids, and brown and crisp - roughly, 25-35 minutes. Go by doneness, not by time. Remove from oven and set aside.
-
Bring a large pot of salted water to a boil. Cook the pasta for 2-3 minutes, or until tender. Drain, reserving 3/4 cup of the pasta water.
-
In a large bowl, or in a skillet over medium heat combine the pappardelle, half of the reserved pasta water, Parmesan, lots of freshly ground black pepper, zest of the lemon, along with a big squeeze of lemon juice. Give it all a good toss, until the water absorbs, then decide if you want things a bit creamier. You can add more of the pasta water and toss again. Season with salt if needed.
-
Serve on a platter topped with the mushrooms and more grated cheese. I like to add some crushed kale chips or chives if I have them. Enjoy immediately!
Serves 4.

Post Your Comment
Comments
I love this recipe. I lost it recently and I searched a whole day to find it again. No other recipe is this easy and good tasting. I don’t use packet pasta any more. Thank you.
Love this Judene-Mari – thanks for taking the time to comment. There’s nothing like fresh pasta for the win!
I’m impressed by how easy this recipe appears to be; I’m definitely giving it a try!
I love homemade pasta! This recipe looks delicious!
Making homemade pappardelle with your recipe was a great way to enjoy a delicious Italian dish!! The dough is easy to make and can be rolled out with a rolling pin or pasta machine. Loved your recipe!!
– Jack from Skilletguy.com
Thanks Jack – glad you enjoyed it!
I have tried many pappardelle recipes, but this is by far the best one. The flavor is rich and savory, not too salty or too sweet. I love how it’s easy to make and comes out perfect every time, no matter what ingredients you use. The recipe works for any occasion; it’s great for dinner parties, potlucks!
Thanks Timothy!
Your description is fantastic! I’ve only done this a few times, but your style of writing makes me feel like I can just whip it together. Thank you! Making it this week!
Thanks Lauren!
More Recipes
Weekly recipes and inspirations.
Popular Ingredients